Vin0770
Member
- Joined
- Mar 16, 2024
- Messages
- 70
- Reaction score
- 59
- Points
- 18
- Location
- Wisconsin
- My Lincoln
- 2025 Aviator Black Label Special Edition
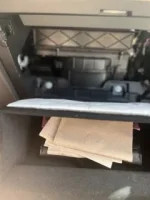
2023 Nautilus Reserve in for its 20,000 oil change, tire rotation, etc. and they asked if I wanted the air cabin filter changed its due at 20k. I said pass I’ll do it myself. How hard can this be I’ve done ALL my other vehicles in the past.
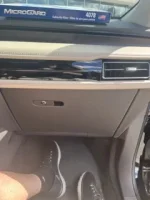
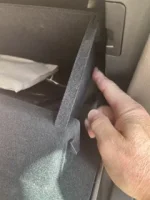
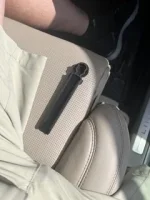
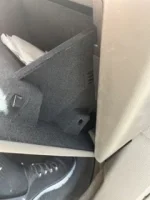
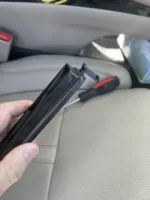
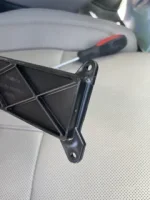
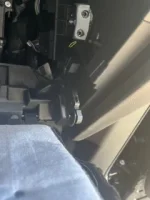
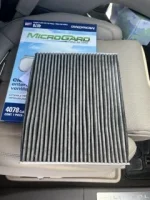
Bought a filter nice reviews for $25 and start reading the instructions. WTH! Then go look at it for the first time when I realize the engineer that thought this one up must have been on “shrooms!” Take off the two two trim pieces one is easy, ok I do that. So you can get at the two bolts on the top somewhere…never found them…and then the two bottom bolts so you can take off the entire glove box…holy hell. Then somehow take the glide track on the right side connected to the box off, no chance to figure that out.
Then the rest is easy but are you kidding me that someone actually signed off on this great design?
So I’ll let the mechanic figure this out and replace it next time in so my $25 filter becomes $85….great