So you are a baker too!!!!!
Action
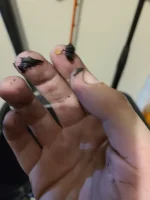
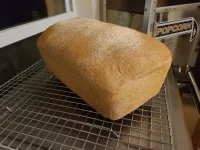
I am, actually! But I think this wheat loaf is much, much more of a success than the leaf-tar-foam souffle experiment...
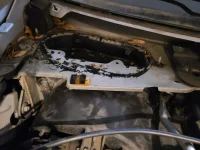
But I digress. Part II complete. The EPDM weatherstripping arrived and it is a thing of beauty. I'm sure that Ductseal or RTV would work too, but this should be much, much easier to remove than the "souffle" was.
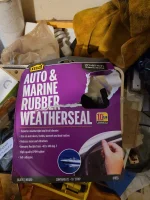
So we begin by cutting a loop that's just a little too big, with a pair of kitchen shears...
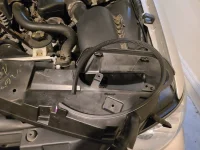
Peel it off. Stick it down. It
exactly fits in the rim channel of this trim piece.
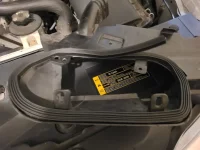
Once I had a clear idea of the join point, I clipped it down, aiming for no gap. I'm no 07-Town Car-SL, but I got it pretty close, I think.
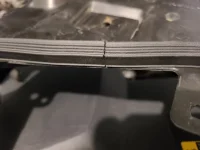
Now, don't panic about that seam. First, it's on the far side from where the water comes into contact with the gasket. Second, the pressure of bolting it down squashes the gasket material and presses it firmly against itself. And third, remember, this isn't a submarine door seal, it's literally just to keep water from seeping in. It doesn't have to hold up to drives into Lake Michigan or anything! It just has to keep water out, and specifically, keep water out
on the opposite side from the join point. If you really feel that Ductseal, RTV, or something else would be better suited, and you want to use it,
you're not making a mistake or anything -- it'll work nicely! -- but this is a little less messy, and particularly easy to remove, without making...more tar-leaf-foam souffle. I didn't like that stuff. At all.
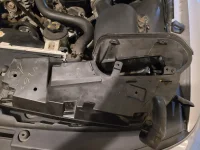
So, okay. EPDM "bumper" on, it's time to reinstall your intake mouth plastic piece. Be mindful of that cable, and start by carefully tucking the tab toward the car's centerline under the other trim piece there:
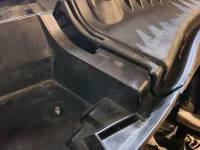
I then just lowered the piece down directly onto those two bolts, and it was already nicely lined up.
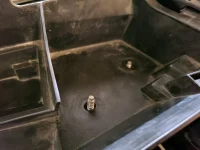
...well, nicely lined up
on this side, at least. That EPDM gasket you just made is pushing up against the other side, and yes indeed, the bolt holes and tabs on the intake itself will resist lining up...
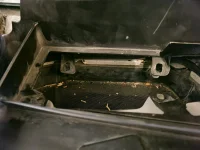
...this is normal. You're fighting the natural tensile strength of that gasket, after all. So, I started with the two nuts on those vertical bolts. I think they could benefit from rubber gaskets too, but I don't have any right now. I'll replace them when I replace the bolts and add a bolt to that empty spot, later.
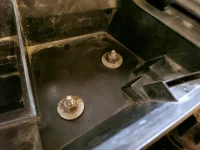
Those bolts, by the way, look an awful lot like M4.2-1.41 16mm sheet metal self-tapping screws, and I'm gonna eyeball that as a 12mm washer on it.
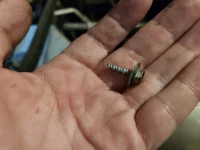
So, I started with the right lower bolt, to help hold the intake plastic mouth down...
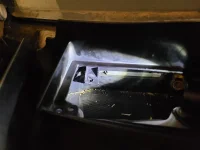
...then slid the bolt in diagonally to the opposite corner, touched the hole, then used a screwdriver-style straight driver to lever it "into line" and tighten it down. Right lower, left upper, right upper, left lower, in that order. It worked.
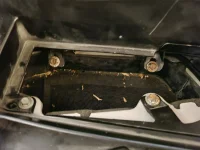
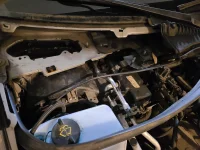
..and then, it was an easy job to replace the upper grill and the rubber weather strip.
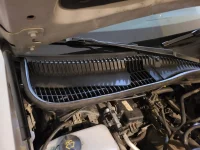
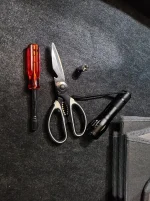
Total time: about an hour, not counting limitless juvenile jokes that my very patient wife endured for my sake and posting here. Total tools included a straight socket driver, 8mm and 10mm mid-depth sockets, a flashlight and a pair of kitchen shears.
Part III, with the air filter installation, is coming as soon as the filter arrives! Hope this is helpful to some of you. Again, RTV, Ductseal, and other solutions
are also just fine -- this is just what I used, and I believe
any of these will do the job nicely.


